Guide
How to Transcribe Google Meet on Mac Without a Bot
To transcribe Google Meet on Mac without a bot, you can use Meet’s built-in transcription if your account supports it, or capture the call audio on your Mac with MemoFlow. MemoFlow records your microphone and the audio Meet plays through your Mac, so no separate participant needs to join.
Google Meet’s built-in transcript or a local Mac app?
Use Meet’s built-in transcript if you want a Google Drive document and your Workspace edition and meeting permissions support it. In Meet, open Meeting tools and select Transcribe. Google displays a transcription indicator and saves the result in the organiser’s Drive. Check Google’s current Transcripts requirements for eligible plans, supported languages and who can start it.
Use MemoFlow when your team allows local recording and you want a transcript on your own Mac. The capture works on the audio played by your browser. Use Meet’s built-in feature if you also need a transcript saved in Drive. MemoFlow needs an Apple Silicon Mac running macOS 26 or later.
Let people know before recording and follow your team’s recording policy. Local capture starts in MemoFlow and does not turn on Google’s transcription indicator. This workflow captures spoken audio. Save relevant chat messages, links or slides separately through your normal meeting workflow.
Start a Google Meet transcript on your Mac
- Install MemoFlow and finish preparing the transcription model in Settings › AI. For calls that mix Hindi and English, choose Apex and follow the Hinglish test-call guide.
- Grant Microphone and Screen & System Audio Recording from MemoFlow’s Settings › Permissions. macOS manages these controls in System Settings › Privacy & Security. Relaunch MemoFlow if requested.
- Join the call in the browser on the same Mac. Start recording in MemoFlow. For a test, say one line yourself and ask someone else to say a different one. Check that both lines turn up in the transcript before relying on the setup.
- Stop the recording when the call ends. Open the saved meeting and review its transcript before using the summary or action items.
The permission names come from Apple’s system-audio settings guide. MemoFlow’s permissions help covers relaunching and other setup issues.
What to check when one side of the call is missing
- You can hear the other person, but they are missing from the transcript. Check that MemoFlow has system-audio permission. Relaunch and make a new test recording.
- Their voice appears but yours does not. Check the input in MemoFlow as well as the input in Meet. A headset or USB microphone change can leave the apps using different inputs.
- Neither side appears. Confirm recording started and the transcription model is ready. Replay the recording to distinguish missing audio from audio the model has yet to transcribe.
- Multiple voices are grouped under Others. System audio can contain everyone on the remote side. Confirm individual names against the conversation before sharing assignments.
Review and share the notes
Listen back at the point where a decision was made, check the owner and deadline and share the reviewed notes through your team’s usual tools. The recording and transcript stay on the Mac by default. If you choose a cloud model with your own API key, transcript text may go to that provider. Read MemoFlow’s privacy policy.
If your team is still choosing a tool, see our comparison of Mac meeting notes apps for teams in India.
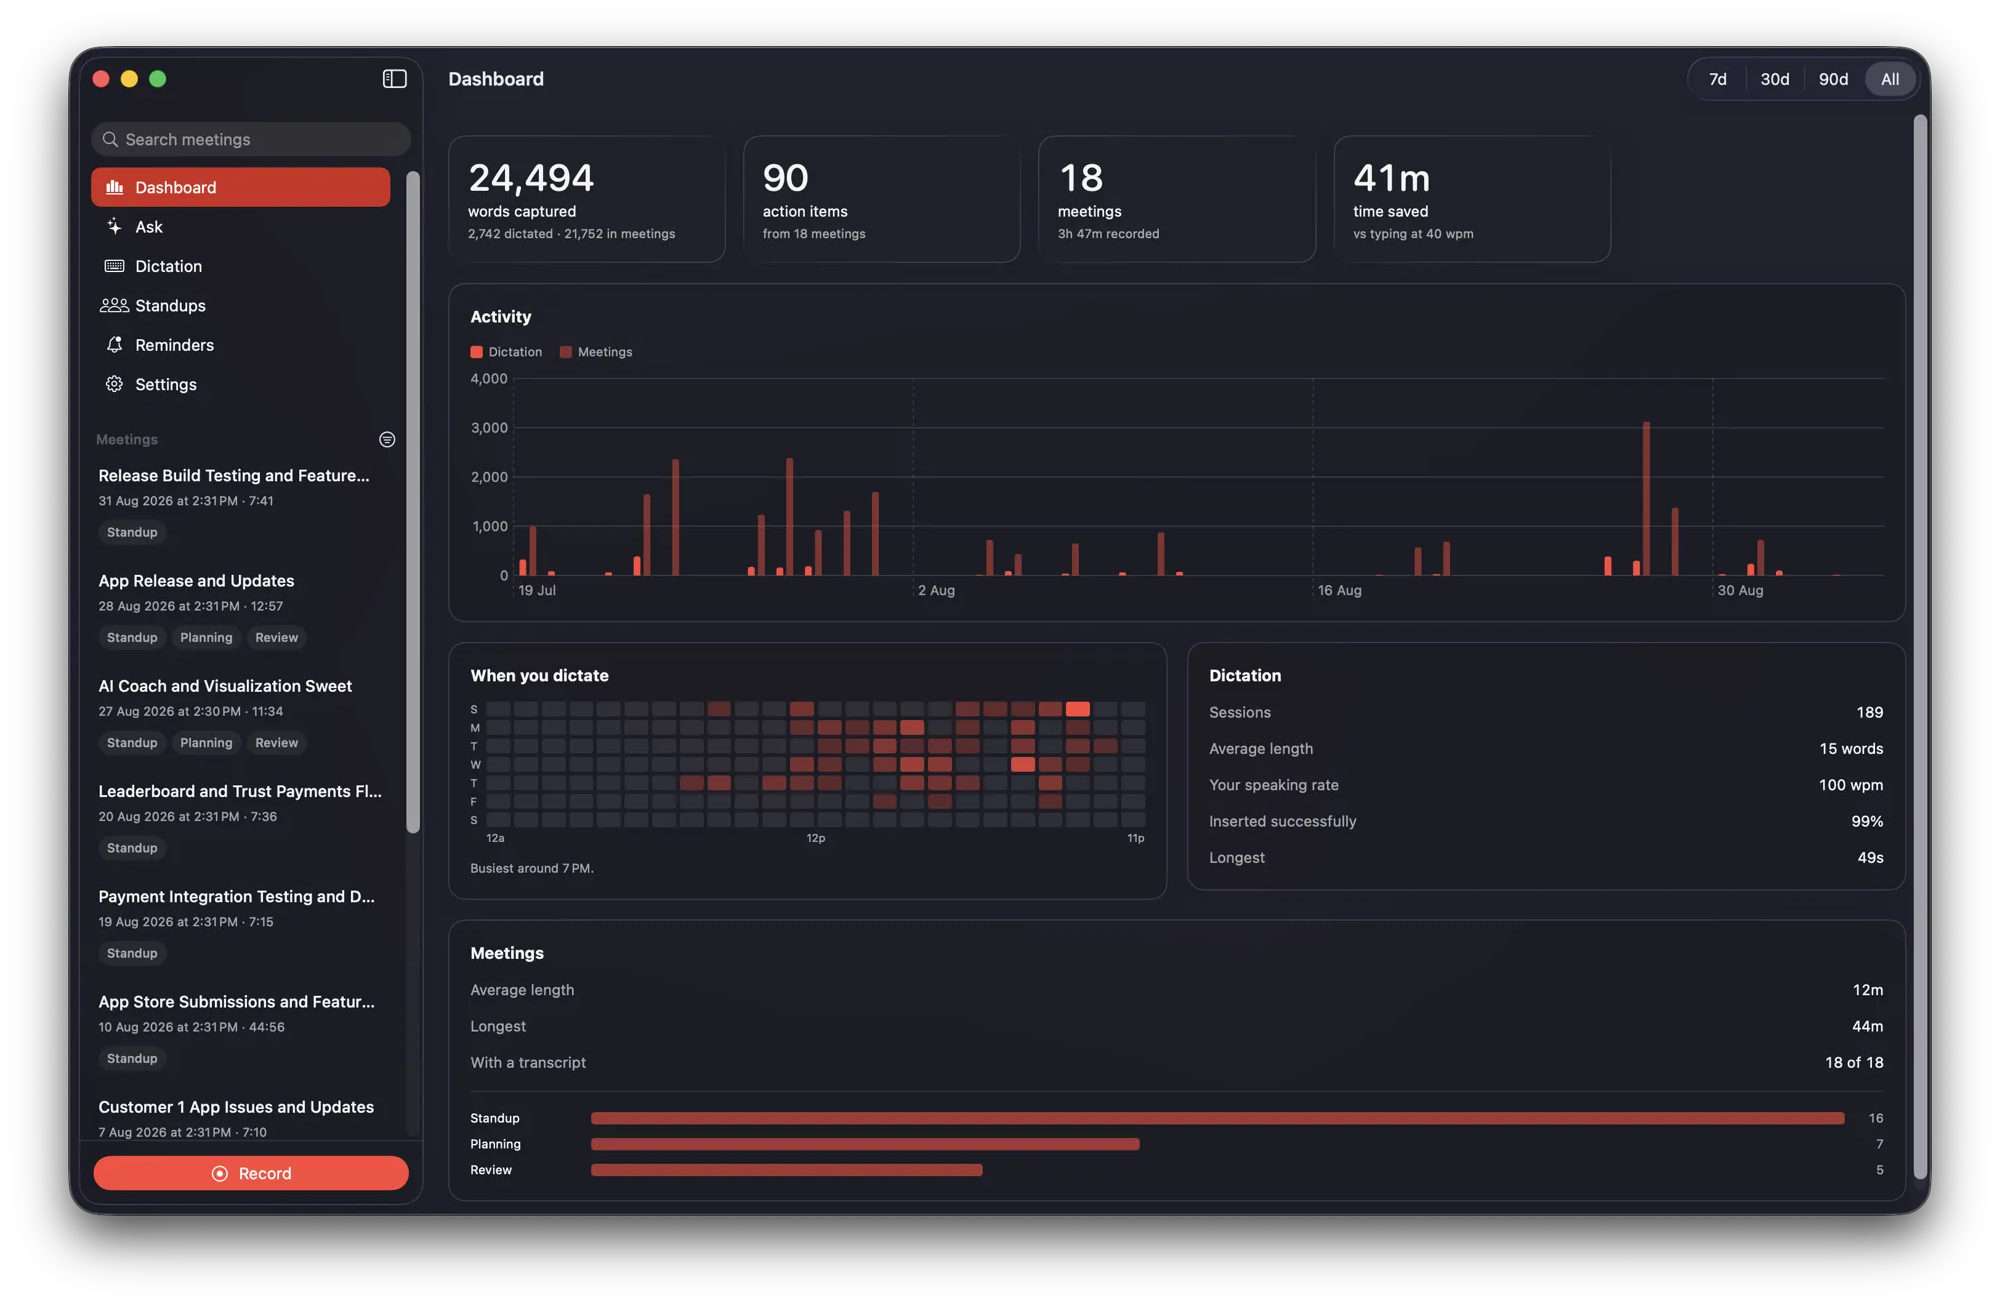
Check both sides of a short Google Meet call in the seven-day Mac trial.